|
 |
 |
 |
 |
The Category Editor
|
|

|
|
The Category Editor form is divided into two sections. The top half deals mostly with items related to printing.
|
|
The bottom half of the Category Editor form is organized into four tabs. Three of these relate directly to the Data Editor. |
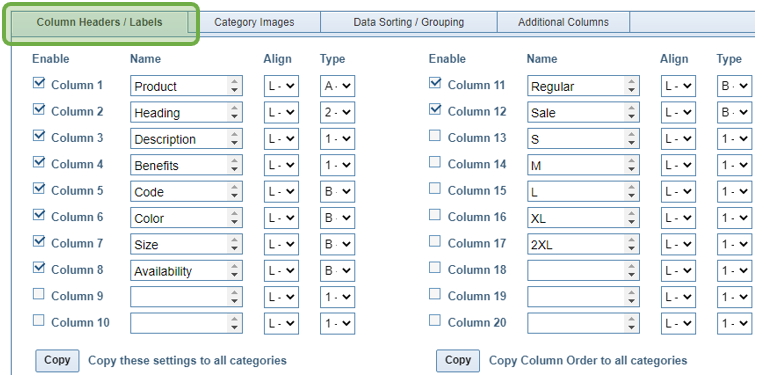
Column Headers / Labels
|
|
If you imported your product data from a CSV file, the Column Headers may already be set. You could also have entered them on the Data Editor form, if they were blank. There are two stacks of four columns: Enable, Name, Align, and Type.
|
Category Images
|
Users with a large number of products may prefer to organize their photos into separate folders for each category.
Create, Assign, and Delete Sub-Folders as required. The name of the Assigned folder will appear in the Category
Window on the Data Editor form.
|

|
|
There are three spots on a printed page where you can add an image: Header, Footer, and Background. Note that there are settings for both Left and Right page. You can use this feature when printing a center-bound catalog to create an image that seems to span both pages. If an image is chosen only for the Left page, that same image appears on the right.
NOTE: Images uploaded on this page are not stored in the same folder as your product images. This is to make them easier to find, considering some users have thousands of products. |
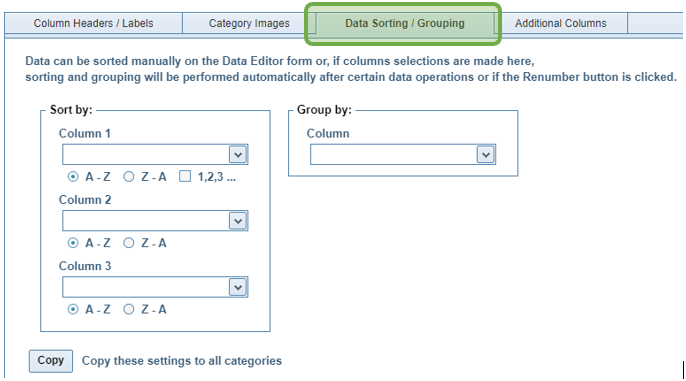
Data Sorting / Grouping
|
This form is a duplicate of the Data Sorting / Grouping form on the Data Editor. It's purpose here is so that you can use the Copy button to apply the same settings to all categories. |
|
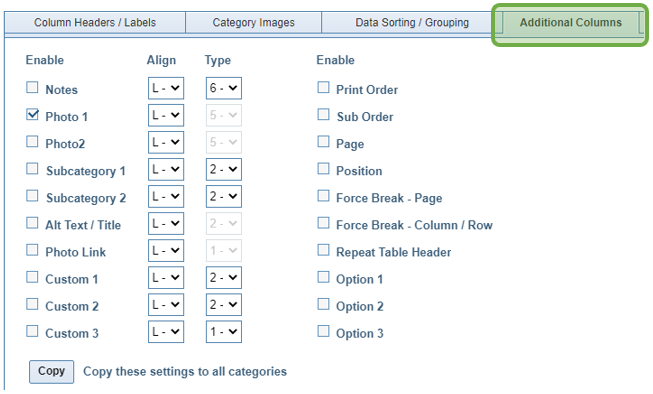
Additional Columns
|
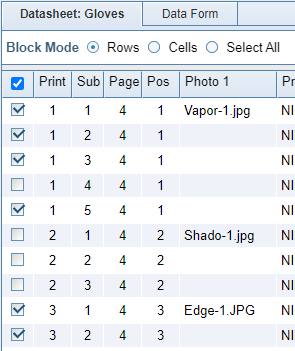
Use this tab to enable or disable additional columns on the Datasheet. |
|
|
|
|
|
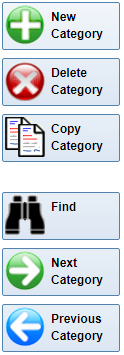
Navigation Bar
|
|