Customization
|
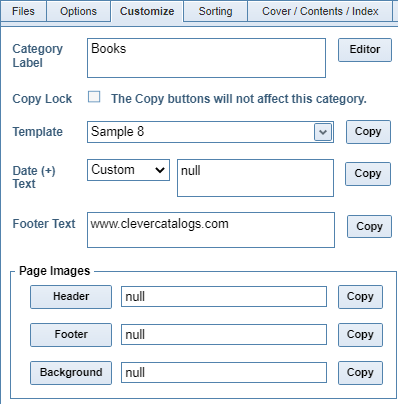
Select any category on the Category List, then click the Customize Tab. There is an Editor button at the top-right corner of this Tab, but the Category Editor is covered in the next Tutorial. |
|
|
|
Footer Text is printed centered in the Page Footer and works with simplified HTML Links. For example, can enter just www.clevercatalogs.com and that text will be a working link. You do not need to enter the "http://www" portion of the address. Page Images print in the Header, Footer, or as a page-covering Background. Click the corresponding button to upload and select an Image File. Enable the Header and Footer images on the Template Editor. NOTE The Header Banner is identical in function to the Company Banner set on the Config / Tools page except that the Company Banner prints on all categories, but the Category Banner can be different for each. There is also an option on the Template Editor to have both Company and Category Banners printed together. |
Return to Tutorial Selection or view the Category Editor Tutorial.
