 |
 |
 |
 |
 |
Printing
|
|
|
|
|
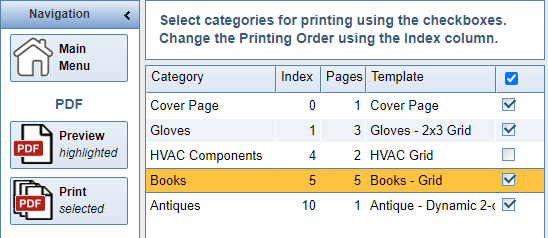
NOTE: As in the example above, it is common to have Page Numbers in the Index Column set to "0" or even a negative value. Many users prefer their page numbering to begin with the first product pages, not the Cover or Introductory pages. |
|
|
|
|
|
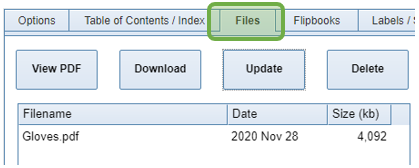
Click the Publish button to host your PDF Catalog on CleverCat's servers. The URL for this hosted catalog can be set on the Configuration page. |
Printing Options
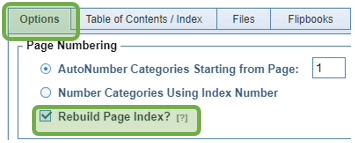
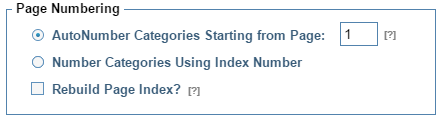
Page Numbering
|
AutoNumber: Use this option to create consecutive Page Numbers throughout your document regardless of the Index Number. Page Numbers will start at the value you enter in the Starting From: box. |
|
|
|
The Rebuild Page Index option will update the Index Numbers and the Page Count after printing to accurately reflect the true values. |
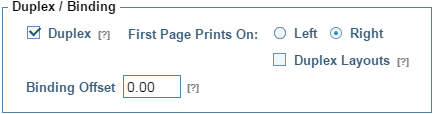
Duplexing
|
|

|
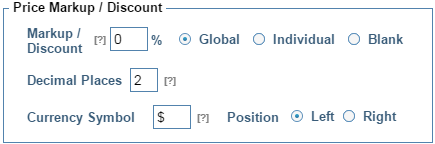
Price Markup / Discount
|
Use the Price Markup / Discount feature to change your catalog's printed values. The recorded values will not be affected. |
|
|
|
To use this feature, you must set the Cell Type on your Template to be either a
Number or a Price field, and then set a value here.
|
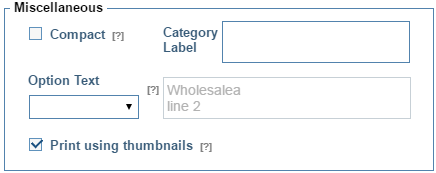
Miscellaneous
|
|
|
Category Label is a Global option which overrides the settings on the Category Editor. All templates which have a Category Label set as an option will print with this label. Option Text is a Global option which overrides the settings on the Category Editor. All templates which have this option in their Page Footer will print with this text. When image files are uploaded, a 250px thumbnail is automatically created and this image is displayed in the Preview Box on the Data Editor. Print Using Thumbnails causes the application to use the smaller thumbnails instead of the larger images, resulting in a smaller PDF which may be easier to email to customers. |