Samples Product Information Home Page Pricing Pricing

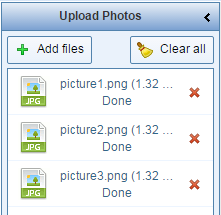
Uploading Product Photos

Use the Planning – Product Photos guide to get an idea of how your photos should be prepared before uploading them.

To upload photos, open the Photo Selection window by double-clicking a cell in the photo column of your datasheet. Click Add Files, and then select your photos using either ctrl or shift-clicks.

To assign your photos afterwards, double-click the cell you want to assign a photo to, find the image on the Photo Selection window, and then click Select at the bottom of the window.

Photos will be saved in the sub-folder assigned to the current category. If no sub-folder is assigned, they will be saved in the main folder instead. Sub-folders can be set on the Category Editor page.


Return to Tutorial Selection