Add a Cart Button to a PDF
|
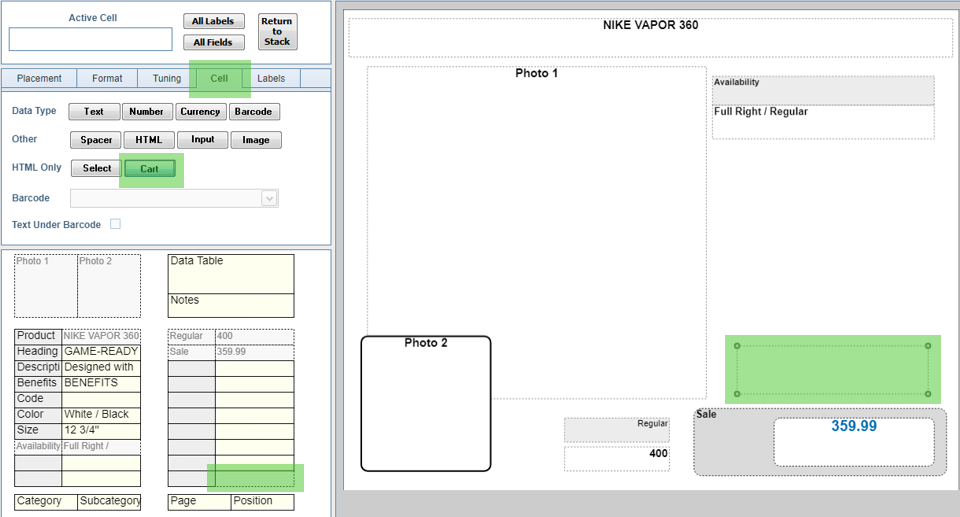
The first step in adding a Cart Button is the same as adding any image to a template. Unlike adding a product image, you can select any unused cell to be a Cart Button. The selected cell does not even have to be named. In this example, as indicated by the green boxes, the last cell in the Stack (bottom-right) has been placed on the Design Pad. Next, click the cell on the Design Pad to make it Active and then set the Cell type to Cart on the Cell tab. |
|
|
Return to the Main Menu to open the Configuration form, and select the PayPal in PDF tab. NOTE: PayPal is the default e-commerce solution, but the same steps are used for a Custom Cart. In the Image File Selection box, click the Select button to choose an image file to use as your Cart Button. You can also upload a new file using the Image Selection Tool. |

|
|
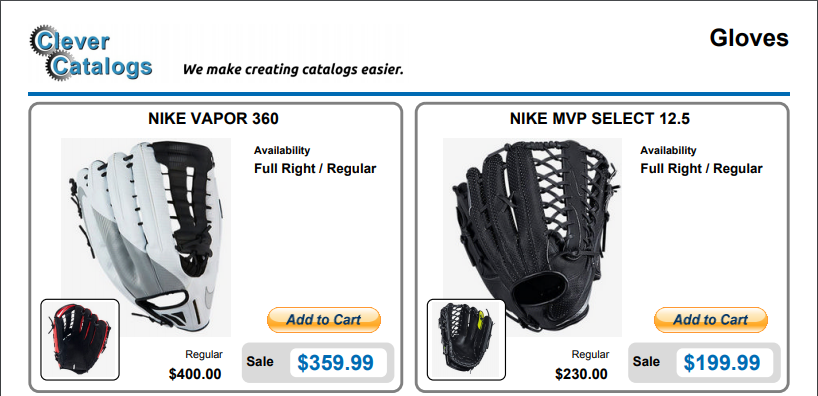
The selected image file will be printed as a clickable button on your PDF. NOTE: The button may not appear until the data configuration steps have been completed. |
|
Return to Tutorial Selection or continue to Data Configuration
